Today I want to share with you a recipe that I grew up with. Mine is only slightly different than the way my mom used to make it. It’s fairly easy to make but the first time can be a little time consuming. My husband loves it and it’s definitely a comfort food in our house.

Start off with a table spoon of olive oil and half an onion. You can use whatever kind you like. Red onion is my favorite. Dice it up and cook on medium high heat until they begin to soften. While onions are cooking slice about 8 oz of mushrooms and 3 – 4 cloves of garlic (we love garlic!).
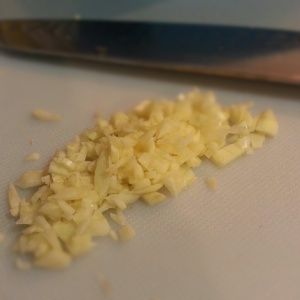
We bought our mushrooms presliced this time so I didn’t bother showing them. Don’t add the garlic, yet!

Once the onions just begin to soften add the mushrooms and cook until they just begin to lose their liquid.

So, I made a little mistake here, but it’s not a biggie. First add your garlic and cook until you begin to smell it (about 1 minute). Then add 1- 1 1/2 lbs diced chicken. We used breasts and thighs this time because that’s what we had. Be sure to cut them in bite sized pieces. Season well with whatever seasonings you like. I mostly use salt and pepper.

This time, my husband had the idea to add some frozen spinach to the puffs. If this is something you like, then I would recommend adding it. If you don’t like it just leave it out. Cook, until well combined.
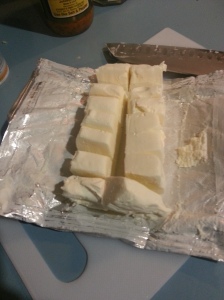
Add 8 0z of cream cheese (At least, I think this is 8 0z. It’s one whole block). Sometimes I use the whipped cream cheese because it melts easier. But, I think the regular makes it creamier and not as runny. Just play with it to see which one you prefer. You can even use the cream cheese with chives or experiment with other types of cheese! We added some Parmesan to this one.

Mix until well blended and remove from heat. Now comes the fun part!
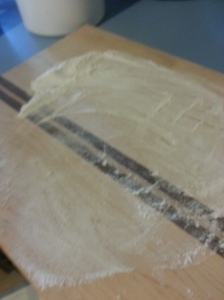
Flour your surface so that the dough doesn’t stick. I usually flip a large wooden cutting board over and use that side. Then put a little flour in a small dish so you can access it easily. Or you can just put a small mound on the cutting board if there’s enough room.

Remove one biscuit at a time from the container and flatten with your hands. It helps if you put a little four on each side of the biscuit and on your hands. Then, it won’t stick to you. It also helps if the biscuits are not straight out of the refrigerator. If they are still cold they tend to shrink right back up after you flatten them. Just take the roll out of the fridge when you first start and you should be fine.

Now, get your rolling pin out and spread some flour over it. Then, roll your biscuits flat. Turn and flip them as you go to keep them circular. You might need to add a little more flour so that it doesn’t stick.

Add about 2 tbsp of mixture to the middle of the biscuit. Fold in sides over the mixture and pinch together. Keep folding in corners until mixture is completely enclosed inside of the biscuit.

Once the sides are pulled up, twist the biscuit to seal it, and flip it so that the seam is down. After you have finished making all the puffs spray the tops with a spray butter of your choice then top with bread crumbs. Bake according to directions on your biscuits, about 375 until golden brown.
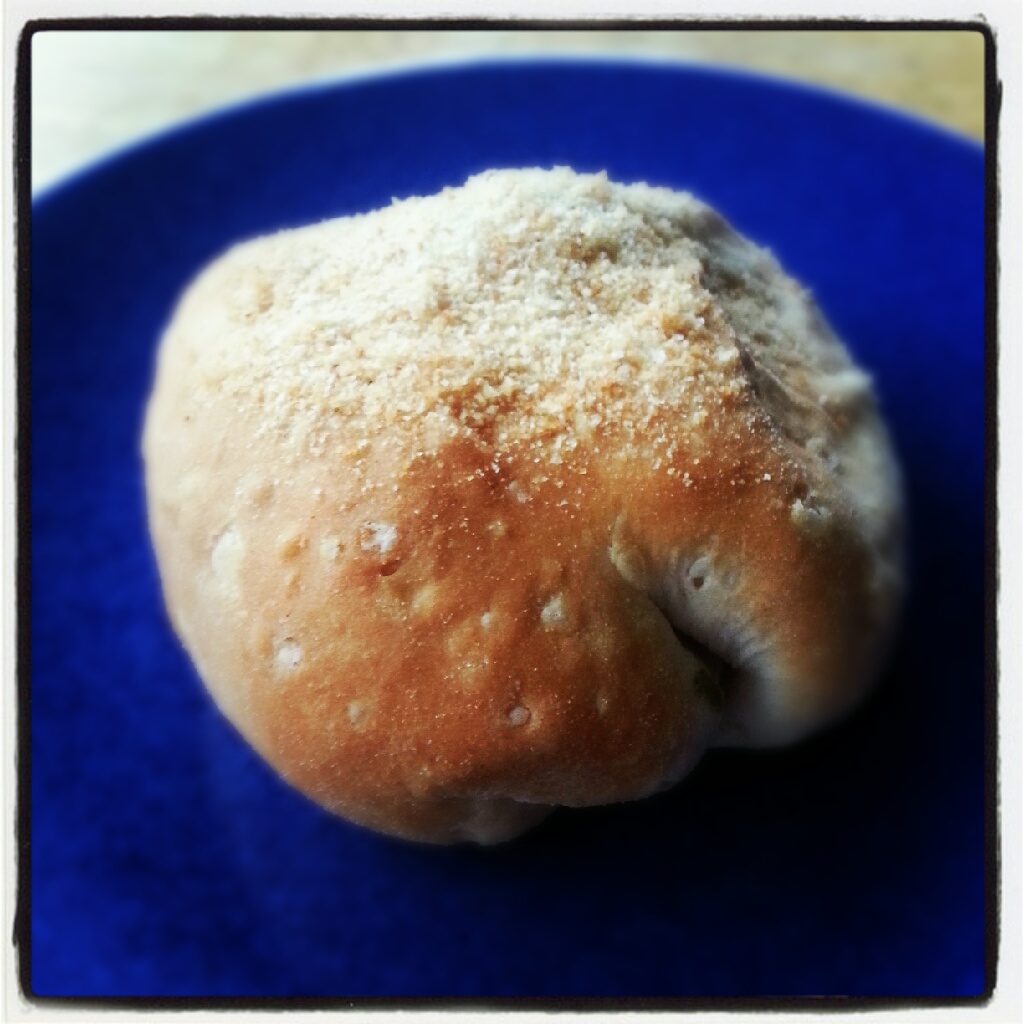
This recipe is so versatile. You can use many combinations of veggies, cheeses, and meats to create different meals.
Ingredients:
- 1-2 Tbsp olive oil
- 1- 1 1/2 lbs of diced chicken (your choice)
- 1/2 onion, diced (your choice)
- 3-4 garlic cloves, diced
- 8 0z cream cheese (sometimes we buy an extra small can, with 4, just in case there is extra of the chicken mixture)
- salt, pepper, and other seasonings to taste
- 1 can Grand’s biscuits (8 count)
- Spray butter
- bread crumbs
- *spinach is optional. I probably used about half a small bag of frozen spinach. I think it would have been good with the whole bag, too.
Directions:
Remove biscuits from refrigerator and set on counter. Preheat oven according to directions on biscuit package. (375 F)
Heat oil in pan and add onions. Cook until they begin to soften.
Add mushrooms and cook just until they begin to lose their liquid. Add garlic and cook for about 1 minute. Add chicken and season with salt, pepper, and whatever other seasonings you like.
Continue cooking until chicken is cooked all the way through. If you want to add spinach do it now. Cook until heated through.
Add cream cheese and any other cheese you would like. Cook until melted then remove from heat.
Flour your work surface. Remove one biscuit at a time, sprinkle a little flour on each side and flatten out with your hands. Then place on work surface and roll out with a rolling pin, flipping and turning as you go. Add more flour as need so that it doesn’t stick to your work surface or rolling pin.
Once it is to you desired size, put a spoonful or two of the chicken mixture into the center of the biscuit. Bring in four sides up around the mixture to enclose it. Keep bringing in the corners until it is completely enclosed. Pinch together and twist to seal. Place puff upside down on your baking sheet. Repeat with other biscuits.
Once all your biscuits are made into puffs spray the tops with spray butter and then sprinkle with bread crumbs.
Bake at 375 F (or according to package directions) until golden brown. Let stand for about 5 minutes then enjoy!!
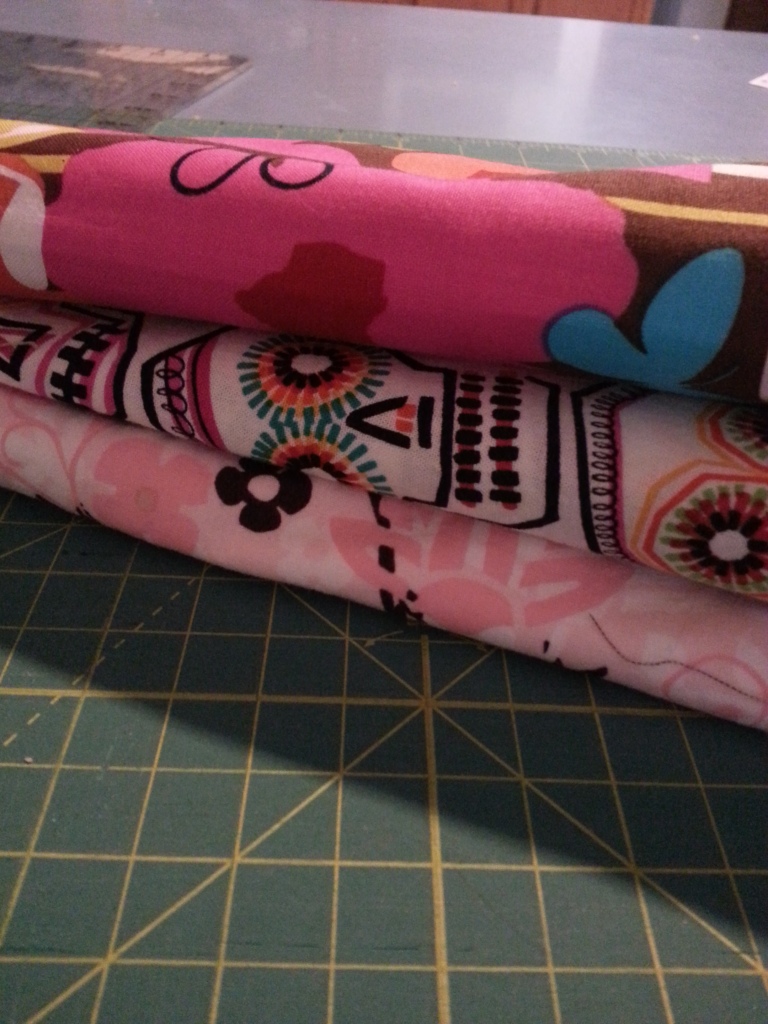
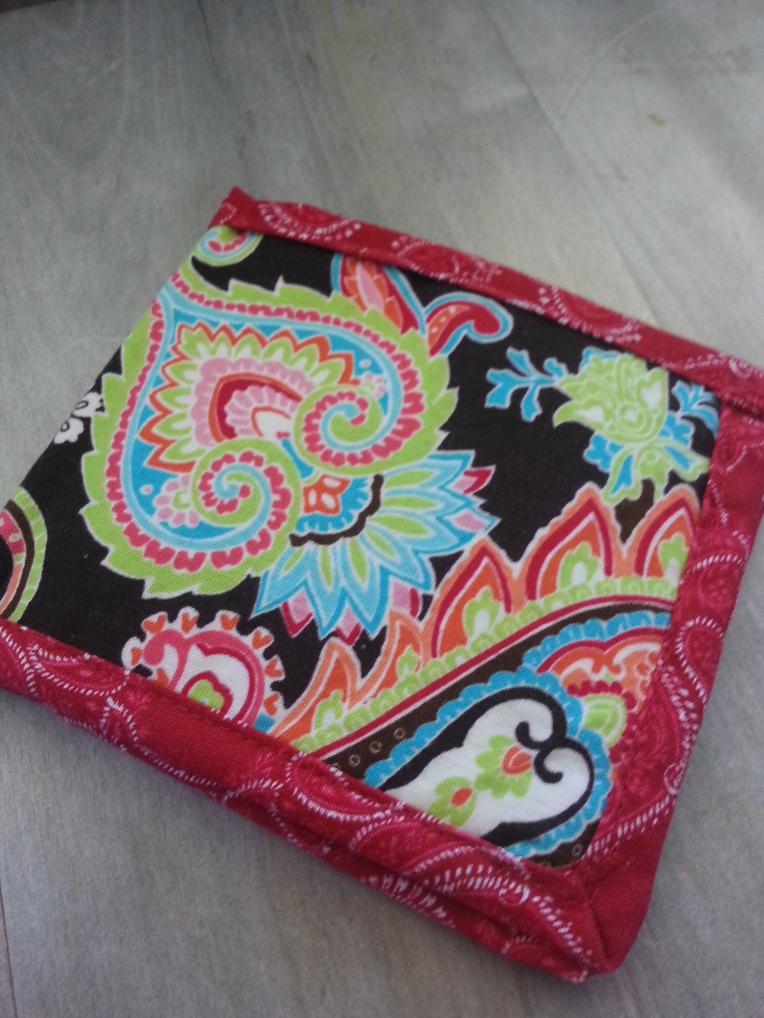
 Not only will it hold will it hold your cash but you can use it as a functional wallet! It has slots for cards and an ID in the front.
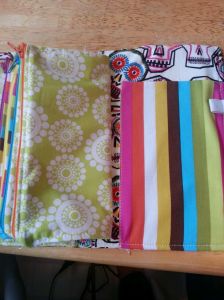 And a spot for a note pad or checkbook and a pen holder! How cool is that! Plus it’s really pretty and bright.
 Since I still haven’t been able to find a job up here in the Pacific Northwest I’ve decided to make a few of these and sell them on my Etsy page. So, if you’re looking for a fun gift to give that can also help your loved one save some money go on over and check out my store!
 I had a lot of fun making these but unless I get some orders I’m going to play with my son and cozy up to the fire. Did you know that it was 60 degrees on our house this morning?! Felt really nice to sleep in but I just didn’t want to get out of bed. When my hubby got home from fishing he started a fire. My dog has been laying in front of it ever since.


